


Mask Mandate
Washington has reinstated its statewide mask mandate for indoor settings. This means all individuals age 5 and up, regardless of vaccination status, are required to wear a face covering in public indoor places like stores and restaurants. Public Health also recommends wearing face coverings in crowded outdoor places such as markets and concerts.
Booster shots
The CDC currently recommends booster shots of the COVID-19 vaccine for those who have significantly compromised immune systems such as people who are receiving cancer treatment and or who have received organ transplants. In the coming weeks, there may be plans to recommend booster shots to everyone across the country who received the Pfizer and Moderna vaccines, if it has been eight months since been fully vaccinated. (There is still research been done on when people who received the Johnson & Johnson vaccine will need boosters.)
Why booster shots be recommended? They can provide additional protections as cases surge due to virus variants.

Movement / Play
Toddlers Corner
One Foot, Two Feet, Hop!
Introduction
A fun way to get little ones moving and following directions! Your kids will follow the footsteps on the floor—and have a hopping good time!
Getting Started
* Once your child is able to jump independently and remain balanced, he or she is ready for this game.
* Just print out as many “One Foot, Two Feet, Hop!”
* On the floor (preferably on a soft carpeted surface), create a pattern with the feet—for example, one foot, two feet, and two feet again. (Check that the reproducible feet do not slip on the surface used.
* If you feel that it is too slippery, tape the feet outside on the patio or a sidewalk.) Create any pattern that will be fun for little ones!
How to Play
- Show your child the pattern on the floor. Point out that if there is one foot showing, your child should hop onto it with one foot. If there are two feet, your child can hop onto it with both feet. Once your child understands what the images of the feet mean, demonstrate how to hop across the room following the “one foot”/“two feet” directions. If doing this activity outside, make sure to go slowly, as the child is still learning how to balance when hopping.
- Invite everyone to hop, hop, hop—even the adults! Once everyone has gone through one round, swap out the pattern for a new one. Incorporate music to add rhythm to the activity.
Extension: Extend the game by adding handprint and add to footprints to more fun!

Language / Literacy
60 minutes
ABC: An Amazing Alphabet Book
By: Dr. Seuss
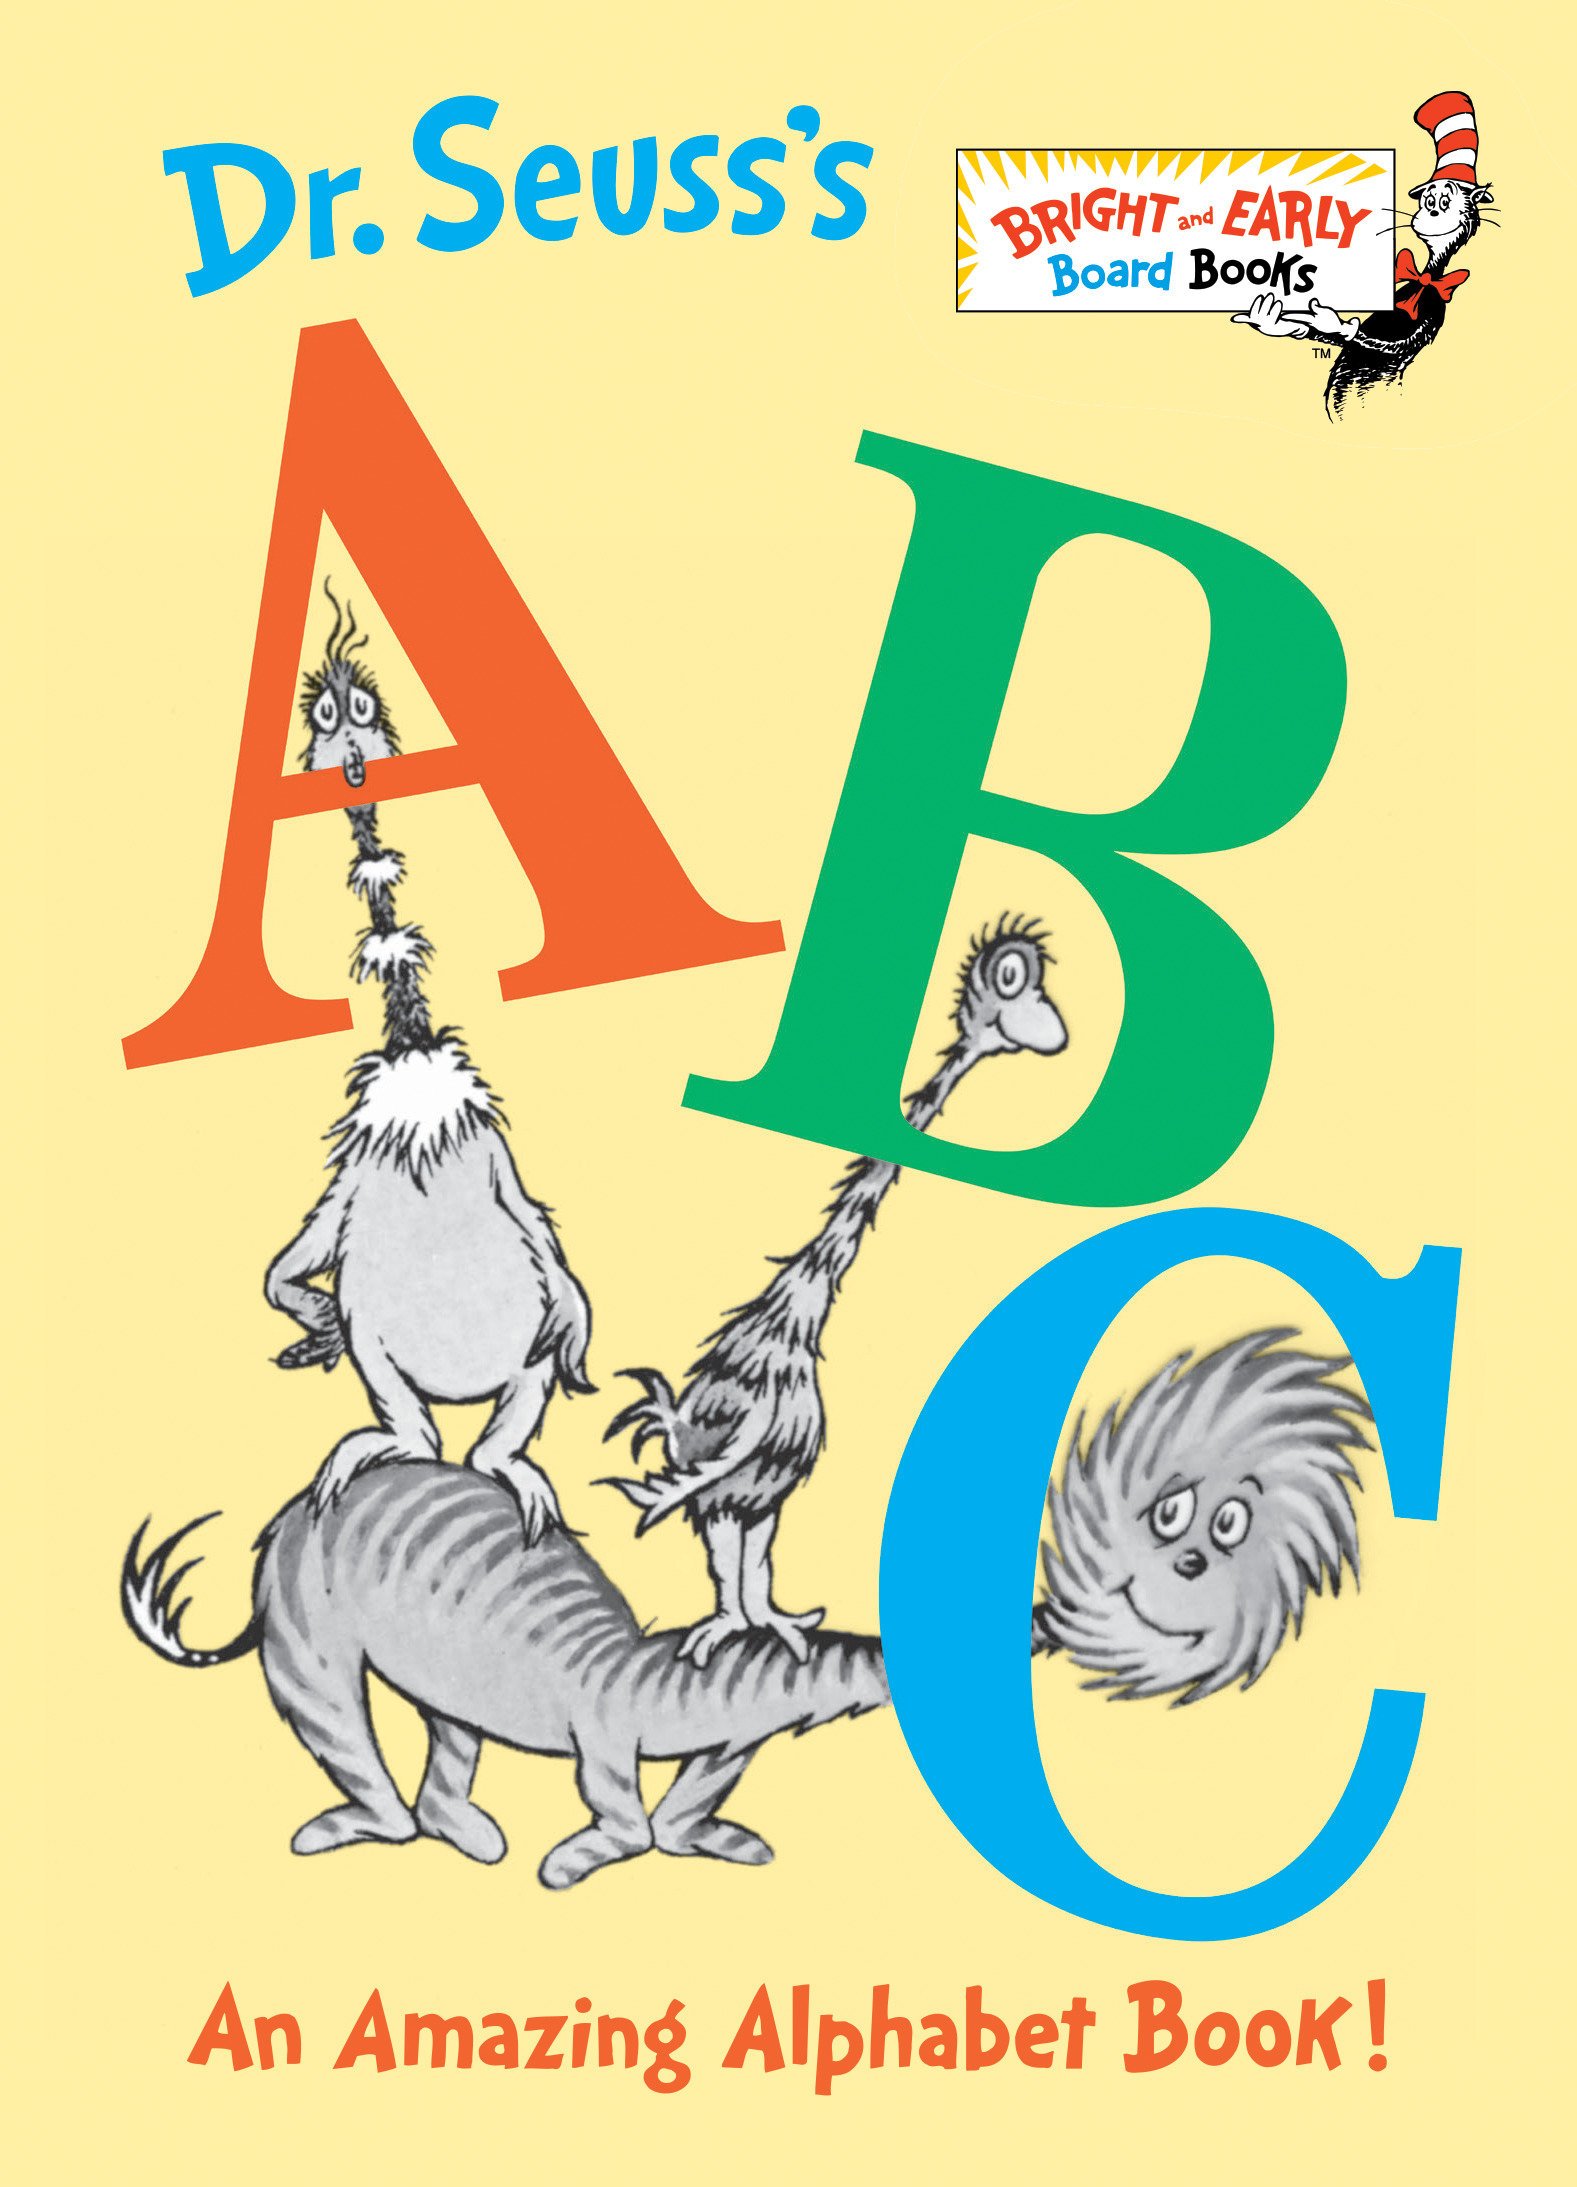
We will review our alphabet.
Alphabet Water Painting
Objectives
Demonstrating knowledge of letter-sound correspondences
Materials Needed
- Alphabet flash cards
- Dr. Seuss’s ABC book
- Chart paper
- Marker
- Paintbrushes
- Cups of water
- Scissors
Introduction
Watch with your kid the read aloud story of Dr. Seuss’s ABC.
After you watch the story, talk about the letters and letter sound that letter makes in the story. Then say the words on the page that begin with the letter. Ask, “Do these words have the same beginning sound? What letter makes that sound?”
Procedure
- Show to your child the alphabet flashcard. Display the card and prompt your child to identify the letter and the picture. Help your child identify the uppercase letter and the lowercase letter. Reinforce that the letter makes the beginning sound they hear when they say the name of the picture.
- Write the letter on chart paper, explaining how you make each stroke. Encourage your child to “skywrite” the letter by drawing it in the air with their fingers.
- Invite your child to think of words that begin with that letter sound.
Guided/Independent Practice
- Take your child outside to a spacious area with a smooth concrete surface.
- Give your child a cup of water and a paintbrush.
- Encourage your child to dip his/her brush in water and practice “painting” the upper– and lowercase letter that you have been studying.

Math / Science
60 minutes
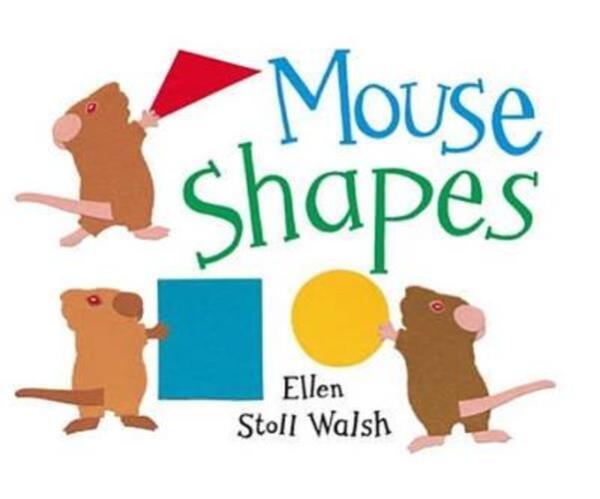
Mouse Shapes
By: Ellen Stoll Walsh
What’s My Shape
Objectives
- Students will identify shapes and their names.
- Students will identify the shapes of common objects.
Materials Needed
- Mouse Shapes by Ellen Stoll Walsh
- Shape templates
- Construction Paper (different colors if you have)
- Chart paper
- Scissors
- Marker
- glue
Getting Started
Draw and cut different shapes on a paper, if you have colored paper that would be great.
Show the story Mouse Shapes by Ellen Stoll Walsh. After watching the story, ask your child to name the shapes that the mice find in the story (square, triangle, rectangle, circle, oval and diamond). Explain to your child that there is a mathematical name for the diamond. It is a rhombus. List the shapes on chart paper, and then add “heart” and “star.” Tell your child that they are going to learn about these shapes.
Activity
- Give your child a set of paper shapes.
- Have your child place his/her shapes on the floor in front of him/her.
- Tell your child you are going to review the names of each shape by singing the “Hokey Pokey!” Instead of putting an arm or leg “in” or “out,” your child should use the shape that you call out.
- Begin the song by naming the shape you will use first. Encourage your child to pick up the correct shape to use as his /her prop as she/he sing along!
“Square!”
You put your square in. (Hold the square on your front.)
You put your square out. (Hold the square on your back)
You put your square in. (Hold the square on your front)
And you shake it all about! (Shake the square.)
You do the Hokey Pokey,
And you turn yourself around! (turn around.)
That is what it is all about! (Clap twice.)
You call out new shape
Continue singing until you have used all eight shapes.

Art / Writing
60 minutes
Summer Sun Hat
By: Lakeshore Learning

Protect your face this summer with these colorful fun summer hat!
You will need:
- Card board, box or any hard paper
- Easy-Stick Glitter Shapes
- Markers
- Pom-Poms
- Peel & Stick Jewels
- School Glue
- yarn
Before you begin:
Trace a sun visor template on a cardboard to let your child cut.
Directions
- Give your child a paper visor. Have your child cut out one visor. Help your child punch a hole on each side and attach a length of yarn that fits around their head.)
- Provide your child with craft materials and markers to decorate their visors.
- Encourage your child to write slogans on their hats, such as: “Super Summer Reader,” “Read and Relax,” “Summer Reading Rocks” or “Summer Reader!”
- When your child are done, invite them to put on the visors. Then take your child outside to read a good book!

Problem Solving
60 minutes
Build-A-Zoo

Objectives
- Child will understand cause and effect.
- Child will make predictions.
- Child will develop balancing skills.
Materials Needed
- Small stuffed or plastic animals—an elephant, a tiger, a zebra, a lion, and a giraffe, etc.
- Cardboard tubes, such as from paper towel rolls
- Craft sticks
- Natural items—for example, twigs, leaves, and so on
- Paper
- Pencil
- Scissors
- pictures
Getting Started
- Prepare the cutout pictures cards and place the toy animals, craft tubes, craft sticks, and natural items on a table.
Procedure
- Show your child the picture cards and read them to the child. Let the child know that he or she will be completing the challenges called out on the cards, building a doorway, a bridge, and so on, using the materials provided.
- Using the picture cards encourage the child to draw up plans before building.
- Invite the child to build and test the design.
- Did it work? If so, proceed to the next activity card. Otherwise, have the child review his or her design, figure out why it did not work, make adjustments, and try again.
- Keep going; in this way until all the challenges on the picture cards will be successfully completed.

Social Emotional
60 minutes
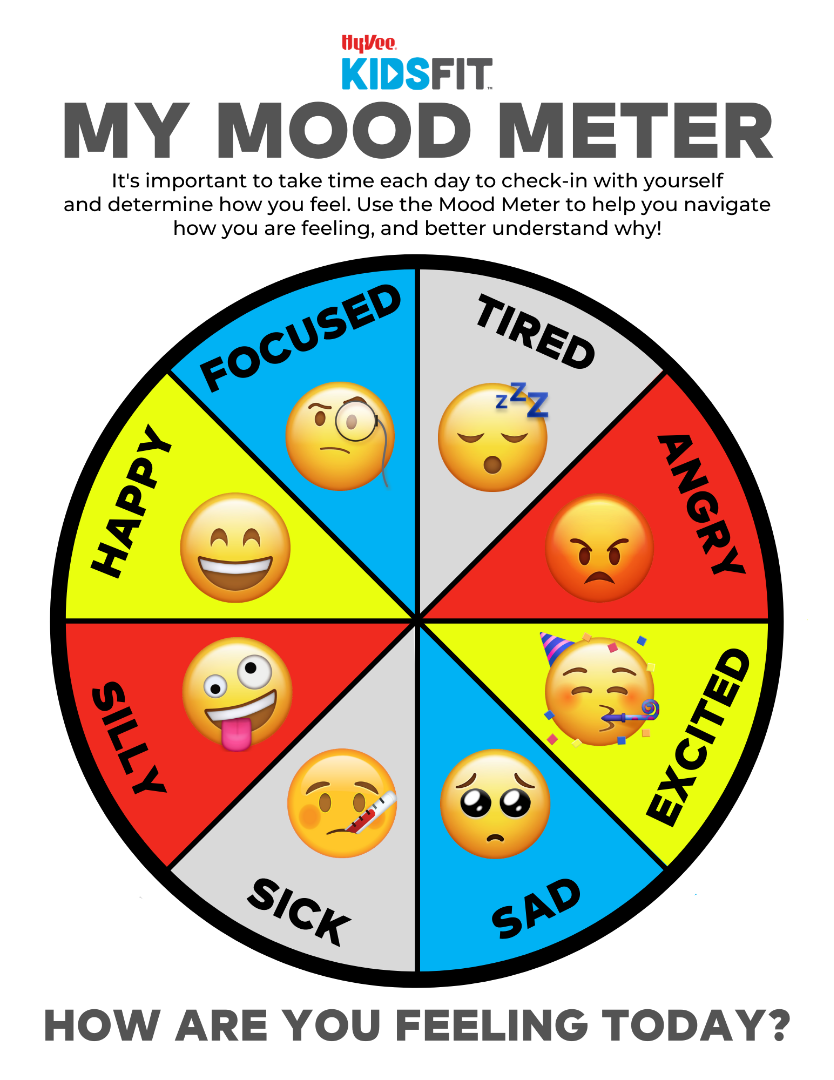
Mood Meter
Objectives
- Will identify feelings and emotions.
- Will recognize facial characteristics associated with emotions.
Materials Needed
- Pencil, colored pencil, or crayons
- paper
- Scissors
- Fastener
Getting Started
- Create the mood meter by cutting a large circle out of construction paper and drawing faces depicting emotions in the circle. Cut out an arrow and fasten it to the circle.
Activity
- Show the child the mood meter and use the arrow to point to the different emotions. Have your child identify each emotion and express it or explain why someone would feel that way.
- Ask your child how he or she is feeling today. Move the arrow to that emotion and ask the child what made him or her feel that way.
- Hang the mood meter where your child can access it daily. Use it everyday.
Movement / Play
60 minutes
Shape Hop
Objectives
- Child will develop gross motor skills.
- Child will improve balance and coordination.
- Child will recognize shapes.
Materials Needed
- Shape Templates
- Construction paper
- Scissors
- chalk
Getting Started
- You will need a large, open area for this activity.
- Cut out the different shapes.
- Spread out the shapes on a non-slippery surface on the ground—close enough to each other so the child can hop from shape to shape.
Activity
- Show your child the shapes and ask him or her to name some of them.
- Invite your child to do the shape hop! Starting on one shape, name that shape and hop to another, naming that shape as well. Keep going in this way until the child has hopped on and named all the shapes.
